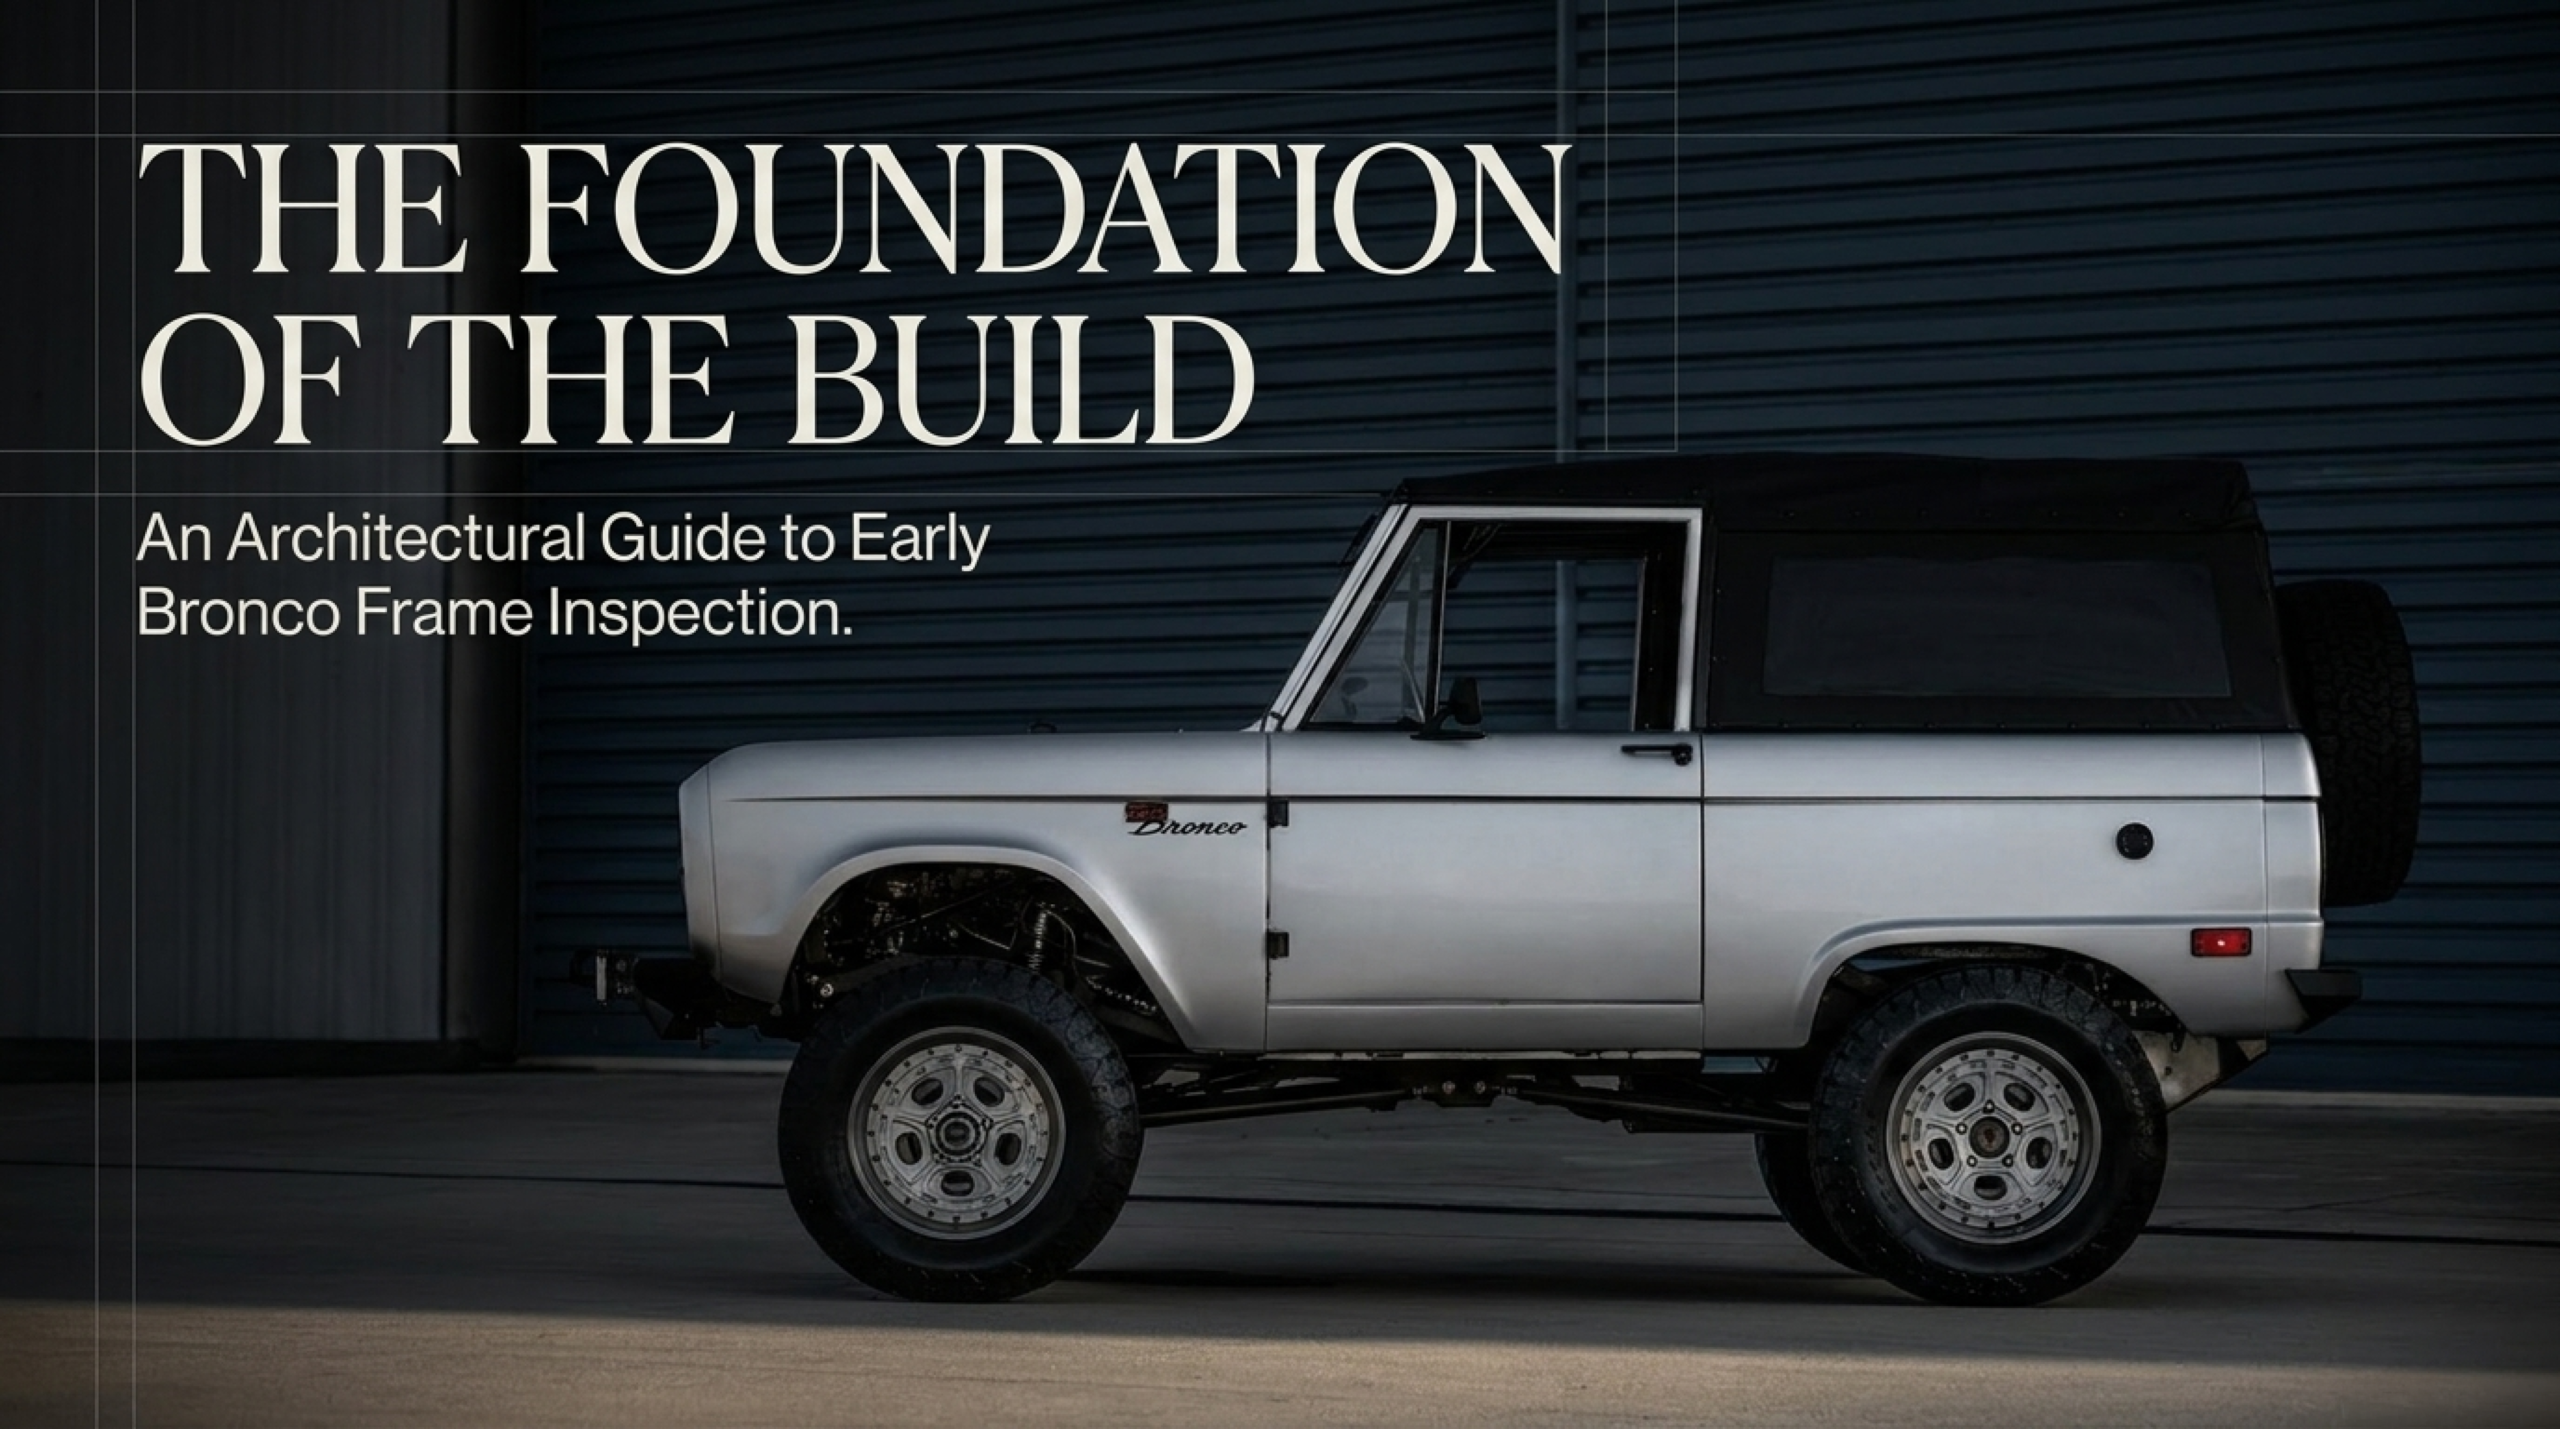
No premium restoration is roadworthy until the frame is gas-passivated, patched, and measurably straight—a truth that early Broncos have earned thanks to their thin box rails and decades of salt-and-mud exposure. Early Bronco frame inspection is a crucial step in identifying any potential issues before restoration begins. Failing to answer “How far do the holes go?” and “Are the mounts still square?” invites cracks to reappear as soon as the truck hits a washboard, so we treat the frame as the project’s primary deliverable even before the body is bolted on.
Why early Bronco frame inspection sets the premium baseline

A thorough early Bronco frame inspection is the only honest starting point because the chassis is the only structural component that cannot be layered away with cosmetics; every other system rides on those rails and on the bushings that secure the tub. In a frame-off program the body is lifted clear so measurements can be taken, mounts can be redrilled, and weak rails can be reinforced or replaced before a fresh finish touches the metal. The buyer checklist that drives every ASC 4×4 consultation also mirrors the heritage advice in today’s Bronco circles: your first questions should still be about straightness, weld quality, and how many times the frame has been adjusted, not about paint color.
Rust hotspots every early Bronco frame inspection must catch

Every Bronco owner memorizes the same trouble spots: lower windshield corners, inner front fender aprons, floor pans, rocker panels, and tailgates that were wet for decades. Frames hide extra surprises under the body mounts, the rear shock mounts, and the steering box bolt bosses, so we put a screwdriver to those areas long before a buyer writes a check. In each case, the difference between a marginal panel and a serviceable frame is measured in inches of rust penetration, not in color-match, and the inspection report should call out how much metal was removed before the section was re-welded, not just how smooth the filler looks.
Body mount bushings, holes, and zero-slop alignment

During an early Bronco frame inspection we focus closely on the eight factory body mount points: the body of a 1966–77 Bronco rides on those bushings, and once they distort they do more than squirm; they twist the tub, open gaps, and make passive doors look misaligned. By the time a bushing cracks the upper and lower retainers are often fused by rust, so we remove the old kit, soak it with penetrating oil, and either press it out or cut it in half so the frame emerges clean. Once the bushings are replaced we torque the hardware just enough to clamp the tub without compressing the rubber, exactly as the OEM procedure intended, which keeps the pickup square through every chassis-handling duty.
What a frame-off teardown should document

When ASC 4×4 lifts the body we inspect every weld, crack, and filler seam. Media blasting reveals hidden repairs, and every body mount hole is photographed before new bushings are pressed in; our teammates capture the front-to-rear diagonals so reassembly references the original tolerances. For bodies that need replacement we lean into Ford-licensed reproduction tubs that mirror factory panel gaps and fitment, then we prep those tub seams with epoxy and seam sealer so future moisture cannot migrate back into the rail cavities.
Early Bronco frame inspection checklist: your own standards audit
Use this early Bronco frame inspection list before a body comes back onto the frame; it is the practical translation of today’s buyer’s checklist into hands-on work.
- Tighten the steering box bolts just enough to detect cracks or chatter around the mount brackets; a fatigued boss can twist the entire front clip before the suspension is aligned.
- Inspect the rail between the rear axle bump stops and the body mounts for deep pitting; if those ribs are soft, the truck can never hold square door gaps.
- Poke at the floor pans from underneath; filler sheets often hide rot, and the floor should have OEM grooves rather than flat, glued-over metal.
- Clean the body mount bolt holes and check for crazing or welded patches; a filled hole means the original geometry has been sacrificed and the next mounts must include a template.
- Record body diagonals and compare them to factory specs so you know whether the frame has stretched even if the surface appears straight.
- Verify the firewall seams and inner quarters for original seam sealer lines before repainting; new bodies arrive with factory-quality gaps but still require proper sealer before paint.
- Ask for a fuel tank and line report; the same rust that eats rails can corrode the tank and shoes your brakes if it slips downstream.
Questions to ask a shop before the early Bronco frame is reassembled
- What is your straightening tolerance and how do you prove it? Demand measurement photos or laser reads that show the frame is back under spec, not just “looks straight.”
- Can you show me the pre-repair condition of the steering box, shock mount, and bump stop areas? Real shops log rust depth so future owners know why each section was replaced.
- Are the body mount holes being plugged with new steel, or simply filled? Patching without a template means the mounts will never return to factory geometry.
- Do you prefer Ford-licensed reproduction tubs or sheet-metal patches? New tubs keep panel gaps consistent and avoid additional hidden stress points.
- How do you document fuel tank, line, and firewall integrity before final assembly? Treat the fuel system as part of the structural audit so leaks and rot are caught early.
- What seam sealers, adhesives, and cavity coatings do you use to keep moisture off the frame? There are premium materials that bond to reproduction bodies without trapping rust behind them.
Panel fit, seam sealing, and reproduction tub fitment

Premium panel fit begins the minute the reproduction body is bolted back on, and only a documented early Bronco frame inspection makes those panel gaps repeatable. Modern suppliers like the ones mentioned in research now stamp Ford-licensed tubs that include the exact curves, drop-offs, and flared options needed for a premium build, so the visual gaps match the structural reality beneath them. That’s why every ASC 4×4 build double-checks the perimeter right after the clips are welded down—there can be no second-guessing when a tub with perfect edges hides a misaligned frame. The seam sealers applied at this stage are not decorative; they are the last moisture barrier between the panel seams and the bare frame rails.
How ASC 4×4 enforces these standards on every build
We combine the frame-off steps described above with a living checklist that parallels Kincer’s restoration roadmap: disassembly, metal surgery, mechanical overhaul, and final detailing. Our team tags each repair, logs the mount measurements, photographs the welds, and signs the report before the body meets the rails again. That level of documentation is what keeps the frame from drifting through the build and gives buyers the confidence that every bolt has been considered rather than fastened on intuition alone.
Incentive-level restorations begin with a frame-first mindset and a documented early Bronco frame inspection: inspect everything, document everything, and only then let cosmetic teams do their work. When the frame and body mount map is clean, the rest of the Bronco falls gently into place.
asc4x4.com | (310) 396-6341

Sources
6 Things You Have to Check On The Frame When Buying A Used Bronco
Tech: Body Mount Repair for 66-77 Early Ford Broncos (ClassicBroncos.com)
Body Mount Bushings + Hardware | Urethane | 66-77 Ford Bronco (Wild Horses 4×4)
Additional Reading
Restomod vs Restoration: Which Path Is Right for Your Early Bronco Build?